Top button area
This is the main action zone. Every scoring, undo, and match reset command starts here.
Remote controller
This guide explains the physical parts of the remote, what each button press does, and how to read the charging light.
Physical areas
This is the main action zone. Every scoring, undo, and match reset command starts here.
The side light tells you whether the remote is still charging or already fully charged.
Use this port to recharge the remote and to update the firmware when a new version is needed.
Button behavior
The action depends on how long the button is pressed, so the timing matters.
A quick press adds one point to the team assigned to that remote. If it belongs to team A, it scores for team A. If it belongs to team B, it scores for team B.
Hold the button for 2 seconds and release to undo the most recent action, no matter which team triggered it. Use this to correct accidental point entries.
Hold the button for 10 seconds to restart the current match and prepare a new one. This works both while the match is in progress and after it has ended.
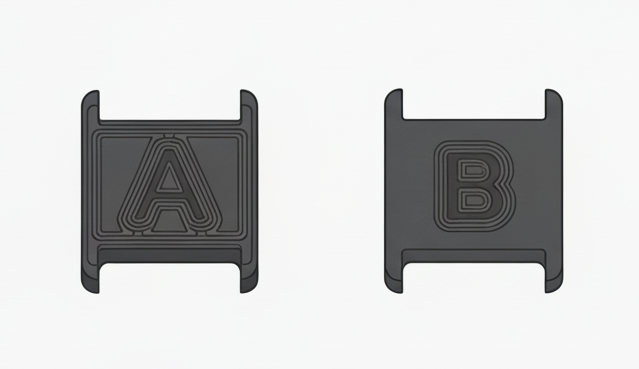
Team indicator
Each remote has a visible letter label, A or B, that identifies the team assigned to that remote.
If the bottom label shows A, that remote belongs to team A.
If the bottom label shows B, that remote belongs to team B.
LED status
During a match, the LED blinks each time an action is triggered to confirm the command was received.
The LED stays on while the remote is charging.
The LED turns off when the battery is fully charged.
USB-C port
Connect a USB-C cable here to charge the remote.
Use the same port when the remote firmware needs to be updated.